Configure SPF, rDNS, DKIM, and DMARC for email
Introduction
Sending and receiving email should be straightforward, but a lot of background checks happen before your organization’s email is delivered reliably and securely. Use this article to activate SPF, rDNS, DKIM, and DMARC to make sure your email reaches recipients, and protects your email server from crippling outcomes like dropped email and public blacklisting.
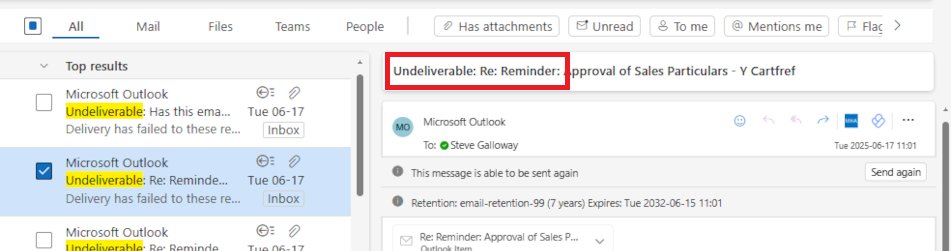
“Undeliverable”: What cost a lost email that you never know a recipient has not seen?
Click open the headers below to learn about email deiverability and “trust”. Please read through this entire article before starting to engage individual modifications to your email server. Changes you make are done so at your risk so be sure to contact us for general advice if you are in doubt. Support options are available for professional assistance. Click on images to view at full-sized resolution.
Why do these protocols matter?
If you do not put a postage stamp on a letter, it probably will not reach its destination, and without a return address you will certainly never know what happened to the letter.
Similarly, without SPF, rDNS, DKIM, and DMARC, email that you send will be erratic and unpredictable. This is because industry tools to assess “trust” are not operational. These protocols are like postage stamps. You may think “it has never been a problem before”. Partly this is because when email does not reach a recipient, you know you sent it but the recipient does not know it was supposed to be received.
Everyone has sent an email that has never reached its target. These protocols are why most failures happen, and in business communications…. it matters. The protocols we cover in this article enable your suppliers’ and customers’ email servers to “trust” your email and its “brand”.
“Postage stamps” for email
The one question we are posed by clients in 25 years of IT support more than anything else is the plaintive “why aren’t my emails getting through?”. Hopefully, it is only because of a badly spelled email address. Often, though, the answer is that outgoing email is not sending adequately “stamped” emails with “return addresses”.
Protecting your identity – “trust”
Protocols like SPF, rDNS, DKIM, and DMARC are email’s a little bit like postage stamps. When the bar code on a postage stamp is recognized as authentic, the envelope is sent to its destination. Similarly, protocols enable receiving email servers to measure and “trust” the authenticity of your communication. Put another way, these protocols protect your email from being measured as spam or malicious email.
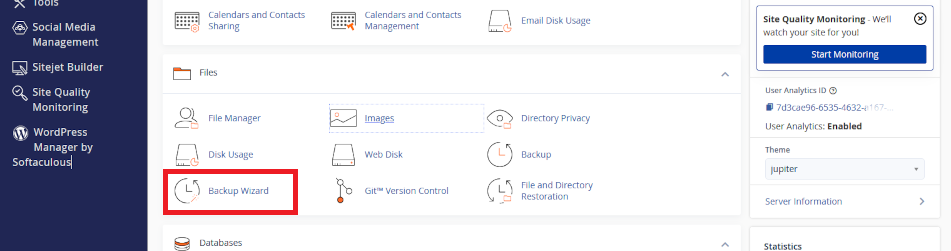
Self serve guides for implementing email protocols
Your web server is optimised for delivering your web pages. If email is included in your package, we have made sure that an email server is enabled with necessary email tools. However, like flat-pack furniture, your email server is minimally configured and the protocols described here need to be aligned with your domain name.
These domain name modifications can only be manually configured by you or your agent. If we look after your domain name, we would configure these modifications within your ongoing support. If we do not have admin privileges for your domain name’s “zone record”, and you have elected against support, then you need to configure your domain name’s zone record.
If you do not have expert in-house IT skills, consider our DNS configuration service and ongoing support plans.
DNS Configuration – Professional support
DNS is awkward technology, even for IT pros. If you purchased your domain before you began using our servers and you want us to manage your domain name records for you, we can still administer your domain name records (DNS) annually for £75, including periodic updates as they are required. Use the PayPal QR code at the bottom of our home page for to send us payment, or contact us to arrange invoicing for our DNS service. This is included in optional support arrangements that you may already subscribe to.
DNS Configuration – self-service option
Use our “self-serve” guides linked below to implement SPF, rDNS, DKIM, and DMARC. There are a few ways to deal with these modifications, and it really depends on how your domain name, and your authoritative nameservers are configured. Read more about deciding where to manage your authoritative nameserver here. So these articles might not be exactly on point for your situations. Again, ask us for advice. Implement the protocols in the order listed:
- How to configure SPF
- How to configure rDNS
- How to configure DKIM
- How to configure DMARC
Tips and tricks
- some protocols may take up to 24-72 hours to resolve
- read through each guide before starting
- monitor email for a week or so before enabling the next protocol
- do not make DNS modifications during heavy traffic/important projects
- document what you do (e.g. screen shots) so that you have a note of “last known” working state
Bear in mind that changes made to domain names happen in real time, and errors can cause web site and email outages that could take up to 72 hours to restore. If in doubt, contact us first.
Summary
Email is vulnerable to malicious attacks that pose risks to your online identity, reputation, and hijack. Implementing SPF, rDNS, DKIM, and DMARC helps to ensure that your outgoing email reaches recipients.
Implementing these kinds of services is challenging without experience. If you do not have expert in-house IT skills, consider our email configuration service and ongoing support plans. We are glad to quote on request.